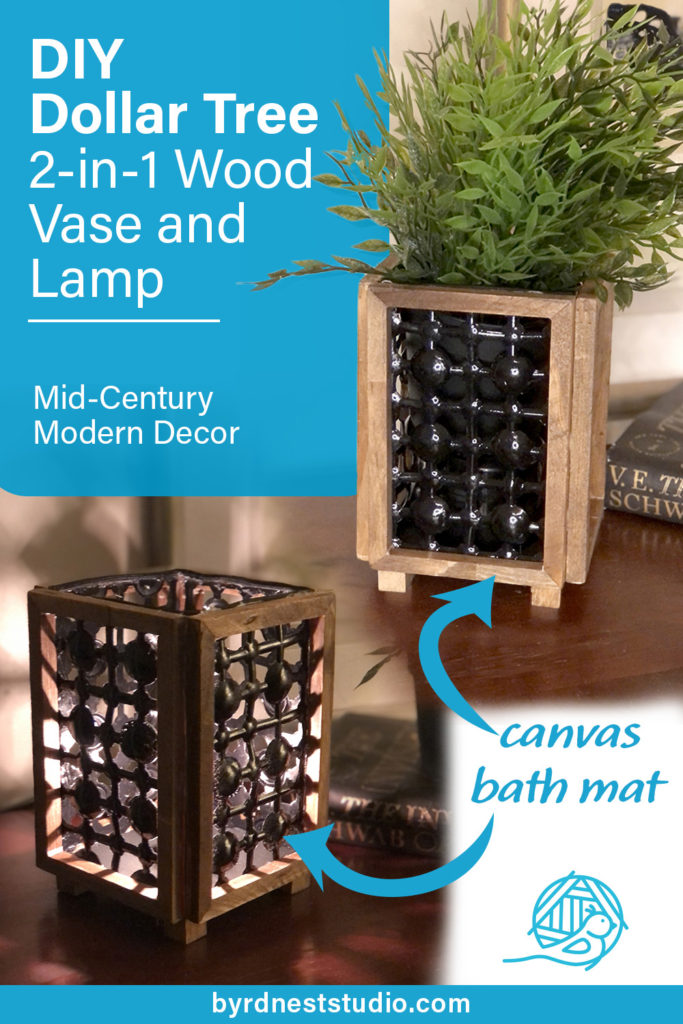
Make this cheap and easy, two-in-one, mid-century modern DIY wood vase or lamp with just a few Dollar Tree items.
Mid-Century modern interiors are filled with clean lines, interesting patterns and an understated appearance. This style has made a comeback and I’m here for it. With all trendy interior looks, I want the latest and greatest, but I don’t want to pay out of the nose for it when it’s only going to be in style for a couple of years.
So, I decided to see what I could make with Dollar Tree items. I’m always looking for ways to make Dollar Tree DIY home décor items, because, well, I’m cheap! LOL. I’m ok with admitting this.
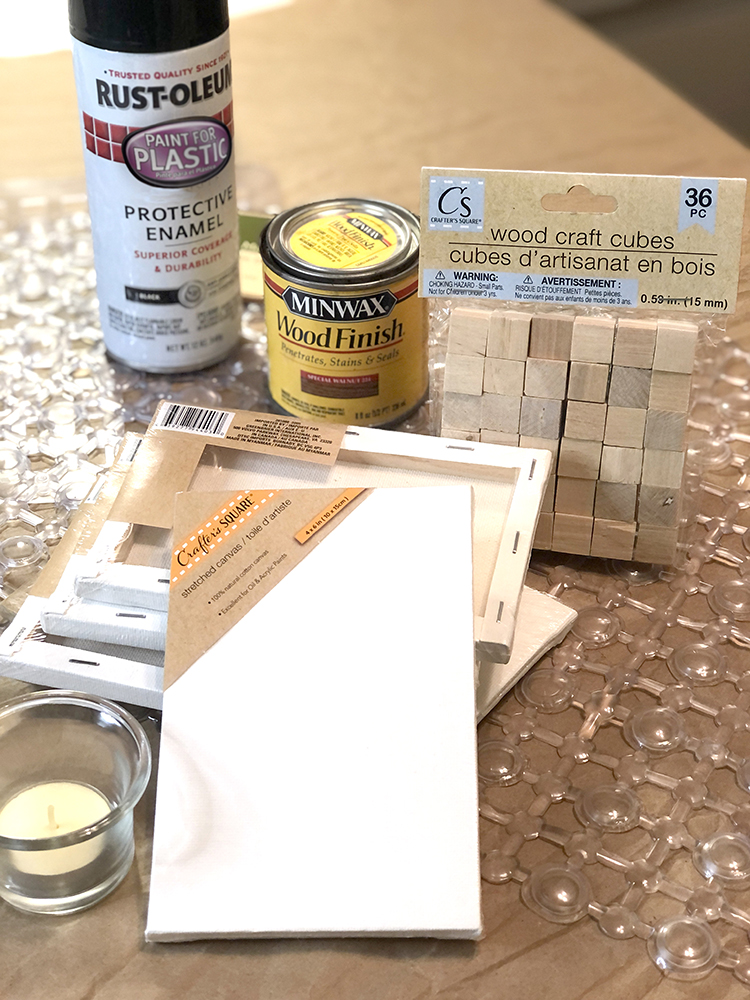
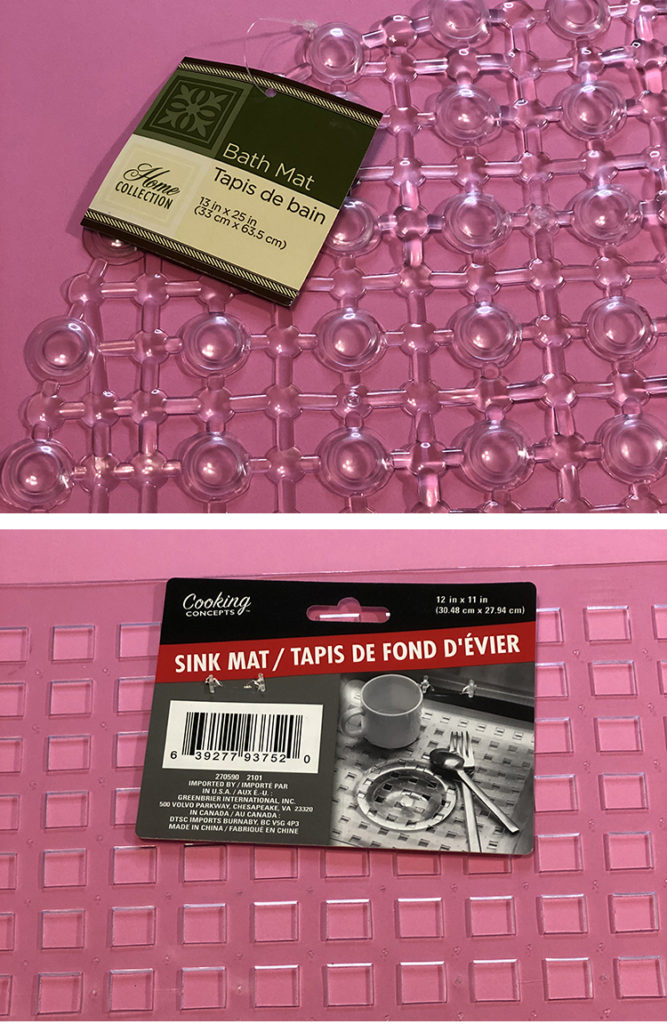
As I looked around the dollar store, I was looking for the clean lines and patterns that is so reminiscent of the mid-century look. I found this plastic bathmat and this plastic sink mat in the kitchen and bath areas. I loved the shapes and didn’t know which one I wanted to use the most, so I got them both. Then I picked up four 4×8 canvas with the wooden frames, as well as a two-pack of the 4×8 flat panel canvases. I also picked up a pack of wooden square cubes too.
I decided I wanted to make a diy flower vase, but very quickly thought I could also turn this into a lantern, lamp or nightlight. Let me show you how I did it.
Supplies you'll need:
(x4) 4” x 8” wood stretched canvas (Dollar Tree)
(x1) 4” x 8” flat cardboard-backed canvas (Dollar Tree)
(x1) plastic clear circle pattern bathmat OR (x2) plastic clear square pattern kitchen sink mats (Dollar Tree)- which ever pattern you prefer
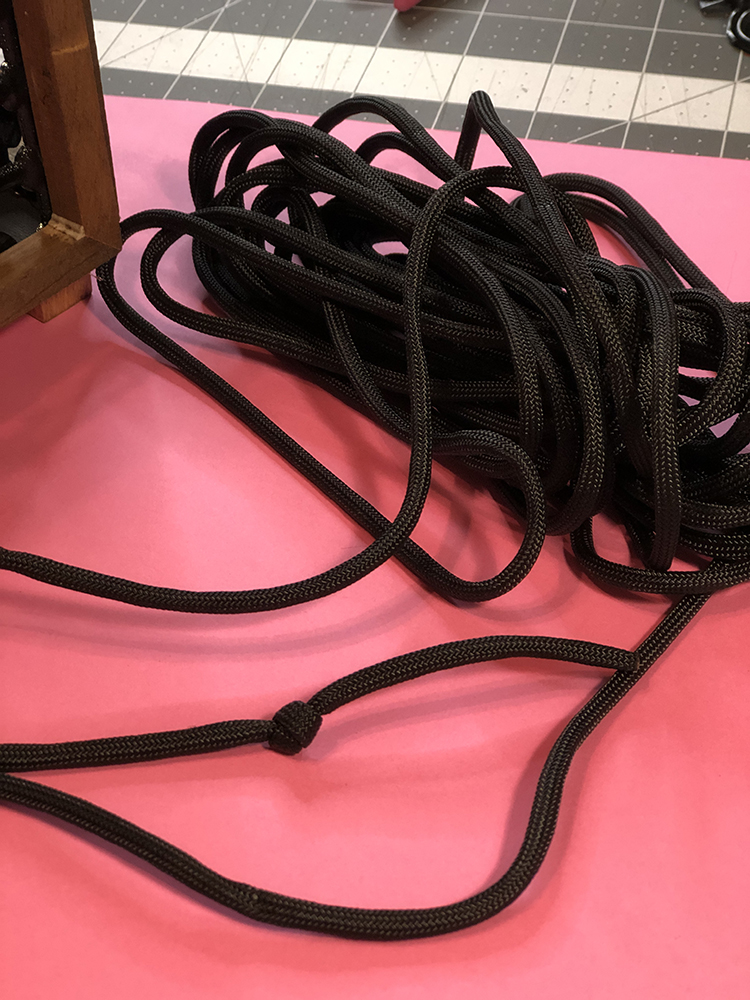
Optional: Black paracord (this is similar to what I used)
Step 1:
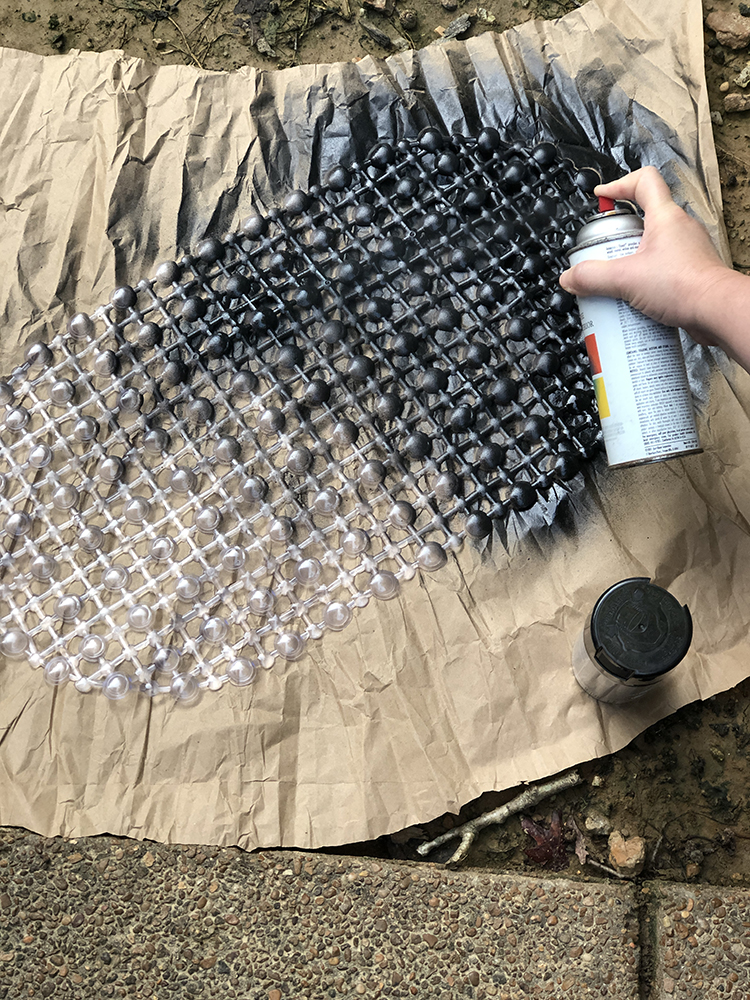
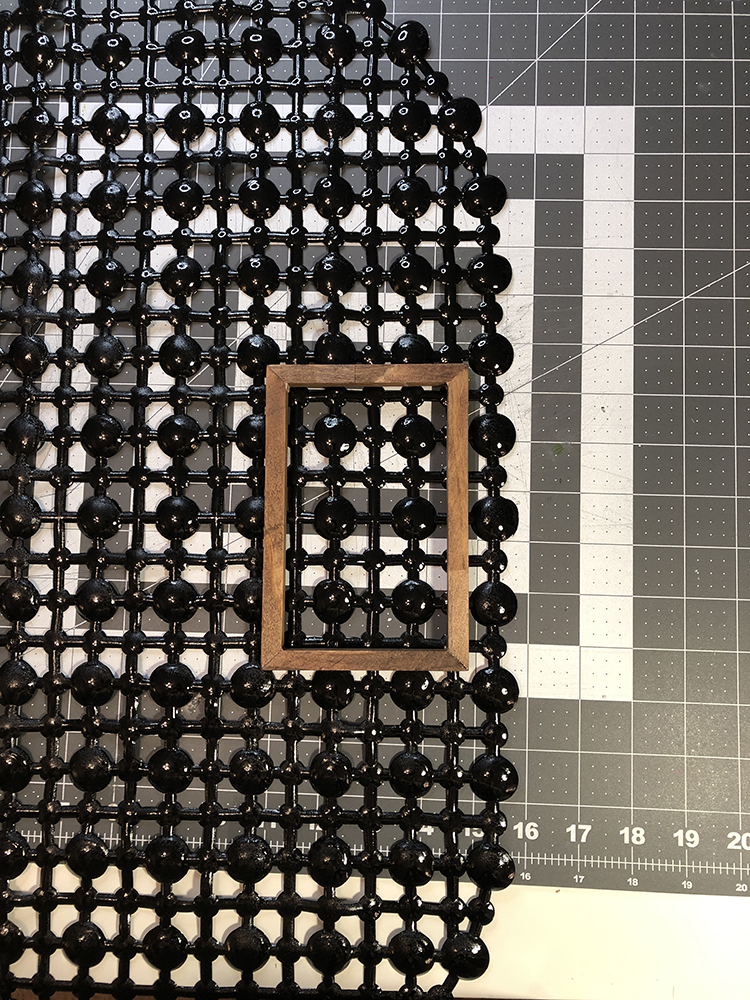
I decided to use the bathmat because I really liked the circle part of the pattern, so I took it outside and spray painted it black with a plastic spray paint. You can spray this any color you want really. I had a glossier finish and used this spray paint by Rust-Oleum, but if I did it again, I’d want to use a matte finish spray paint.
Step 2:
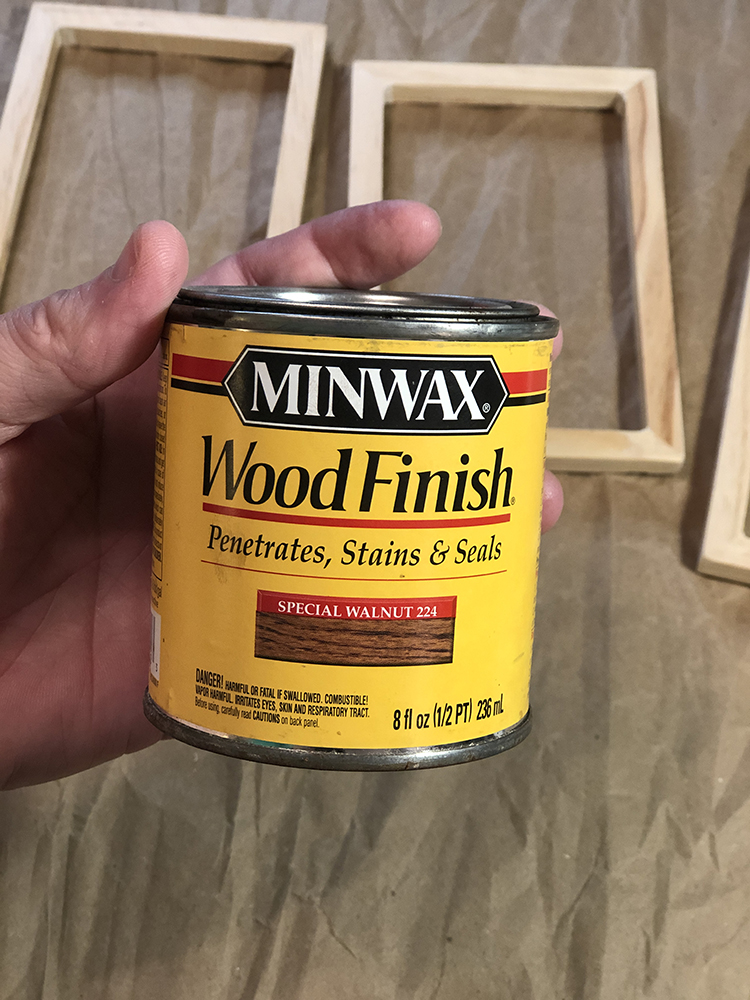
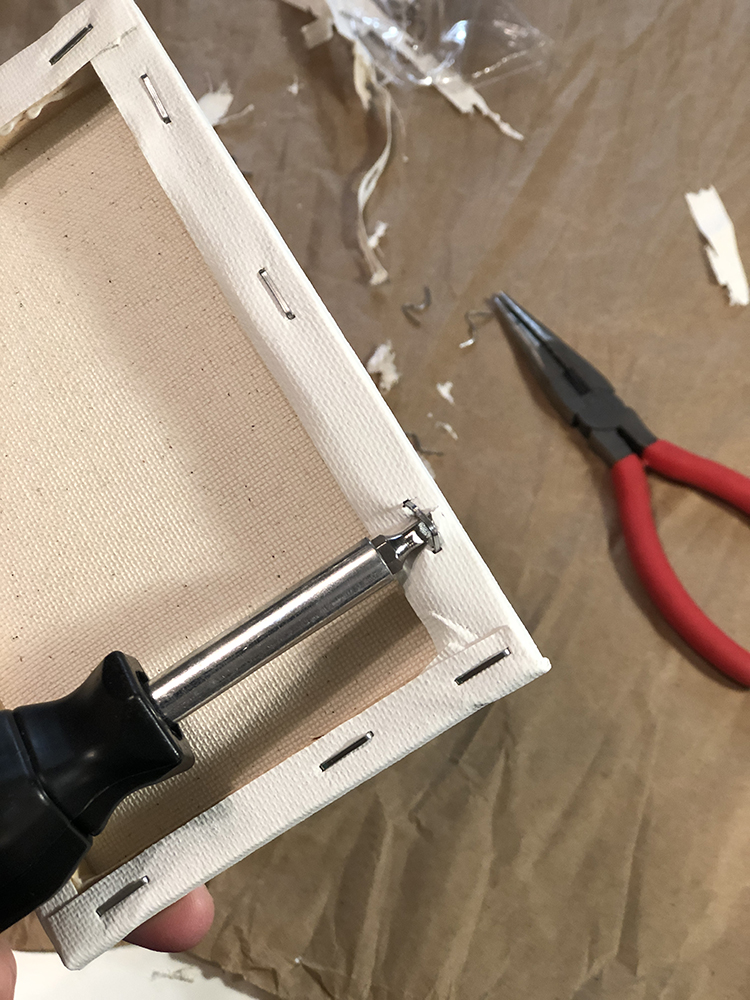
While the bathmat dried, I took the 4 wood canvases and took out all the staples with a flathead screwdriver and needle nose pliers. Save that canvas, it’s perfect for painting color swatches.
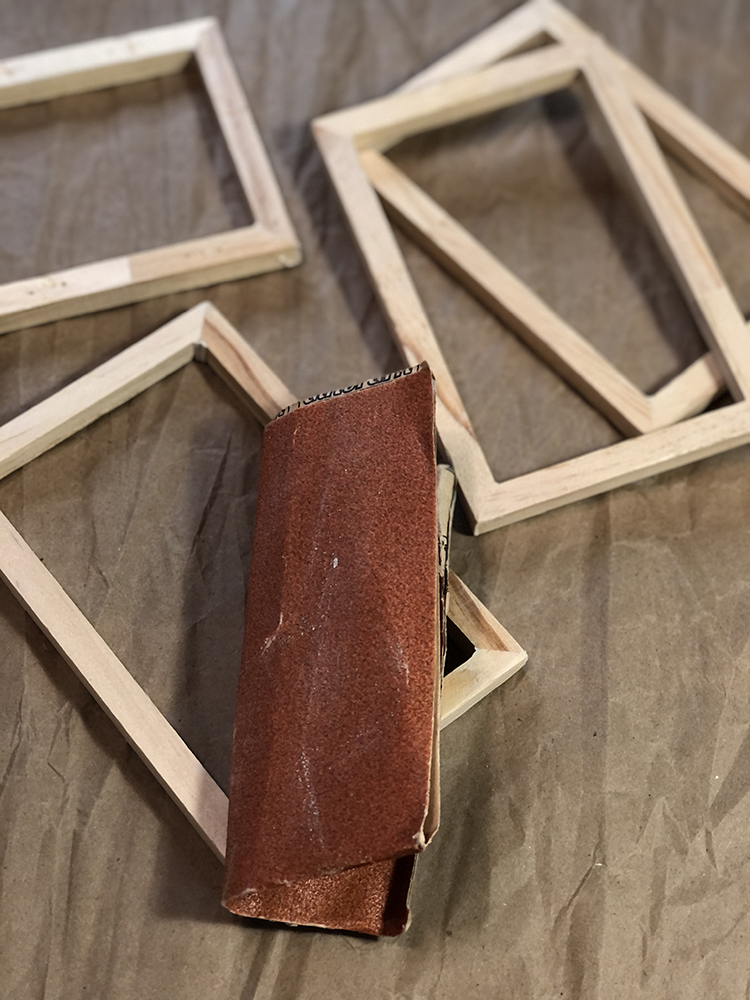
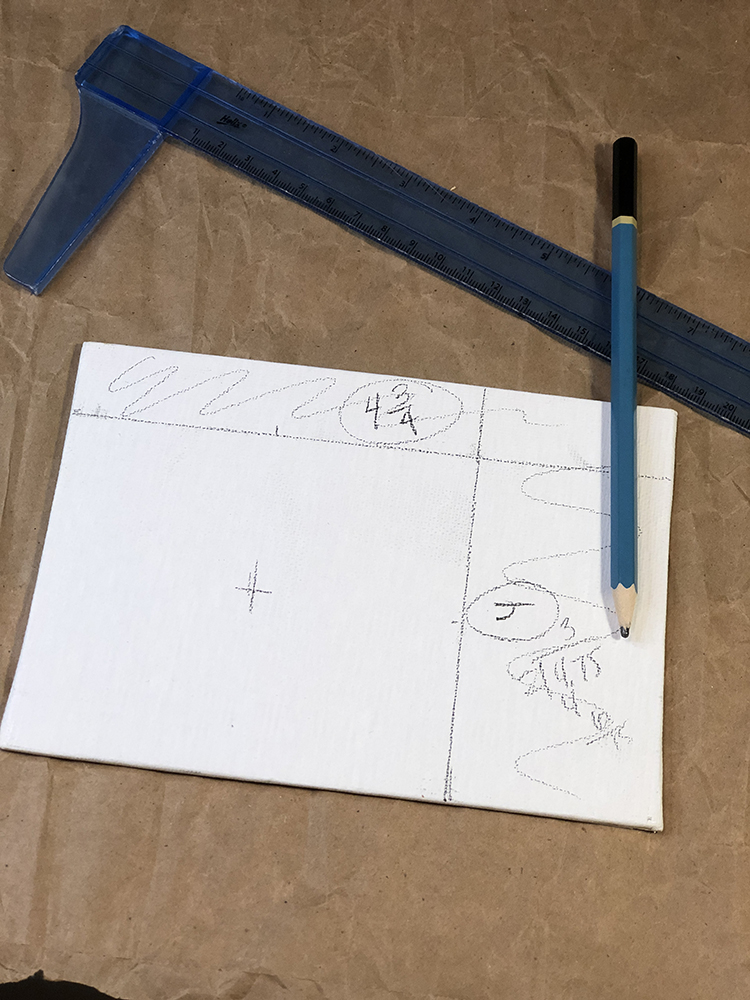
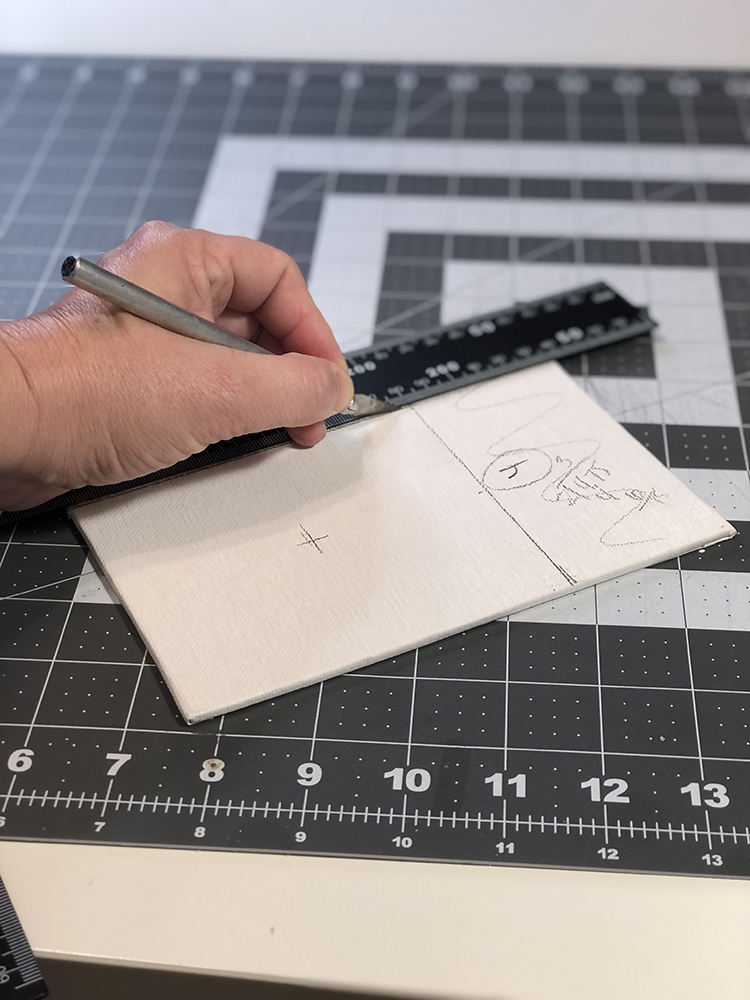
I then dry fit the frames together and determined I needed the base of the vase/lantern to be 4” x 4”. I took the 4×8 flat canvas and measured a 4”x 4” square and cut it out using a utility blade and a metal ruler. You’ll have to make several passes since the cardboard backer is thick.
Step 5:
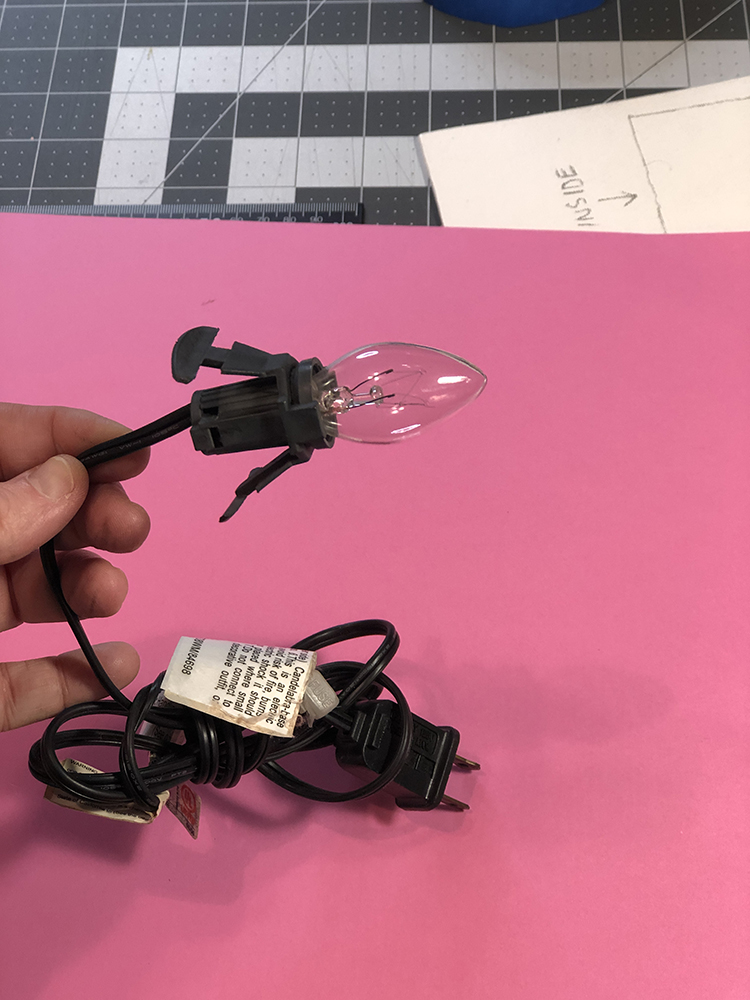
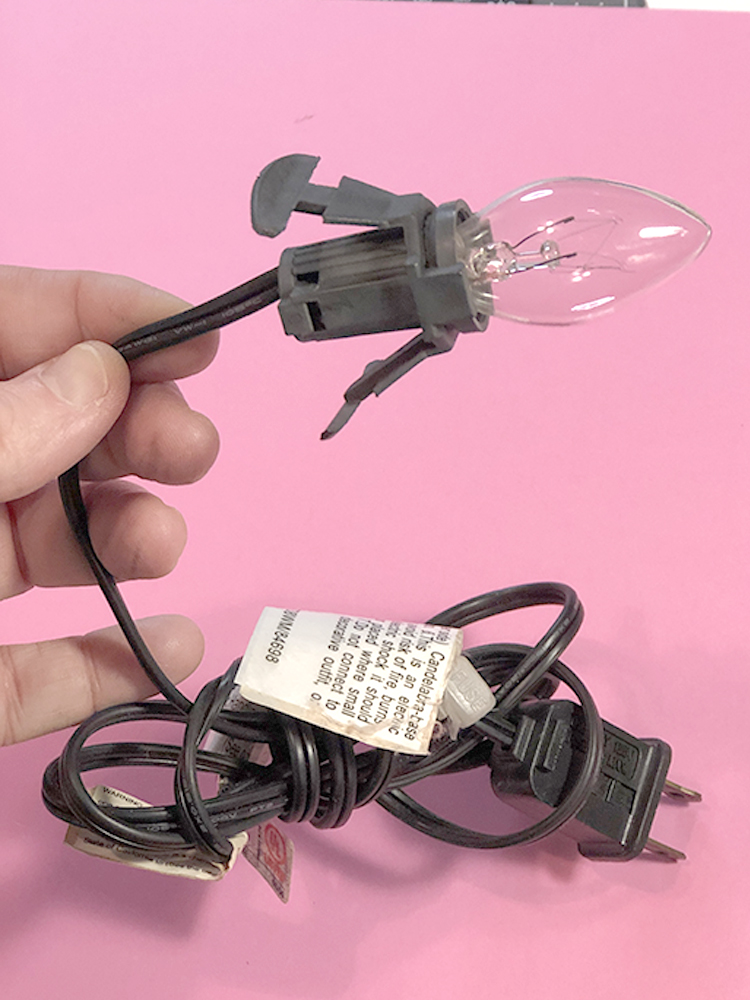
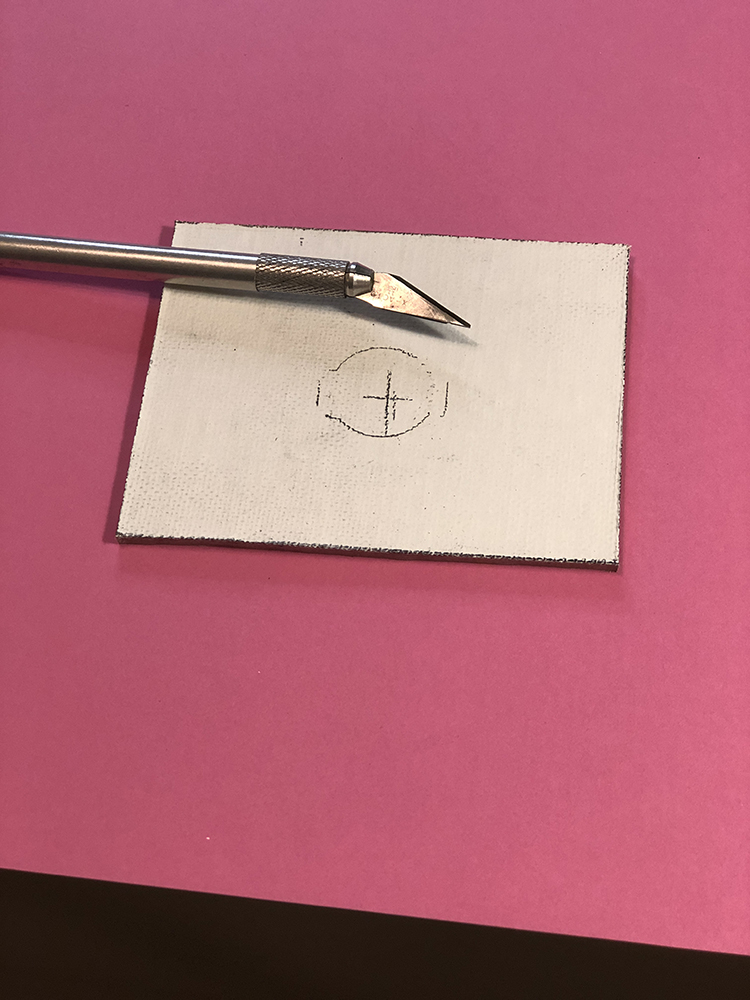
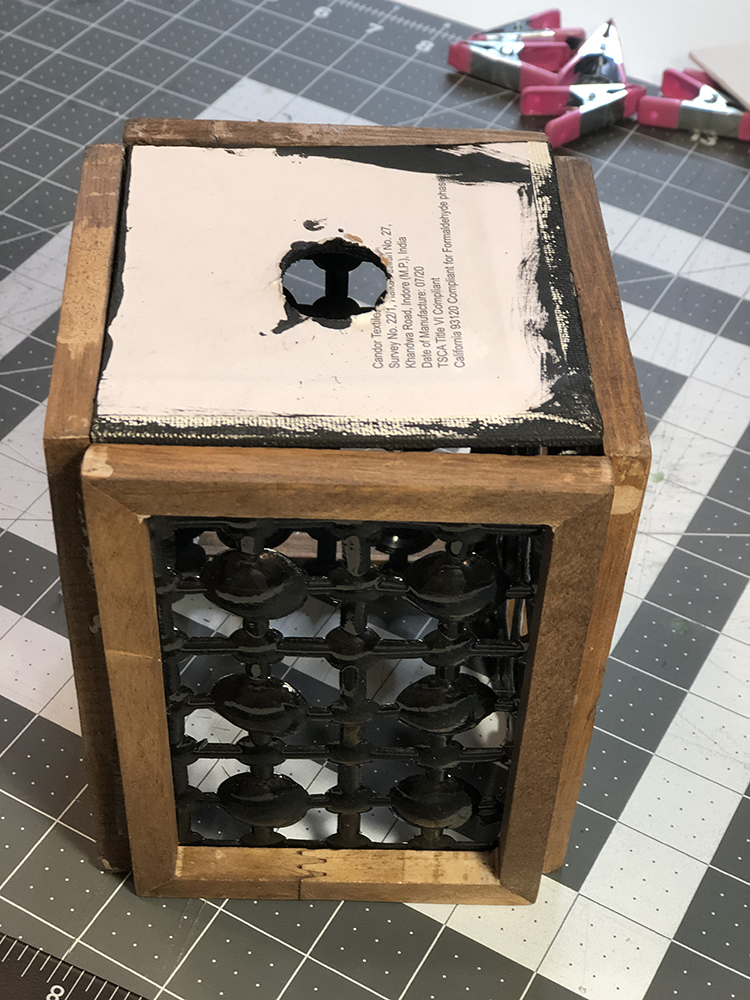
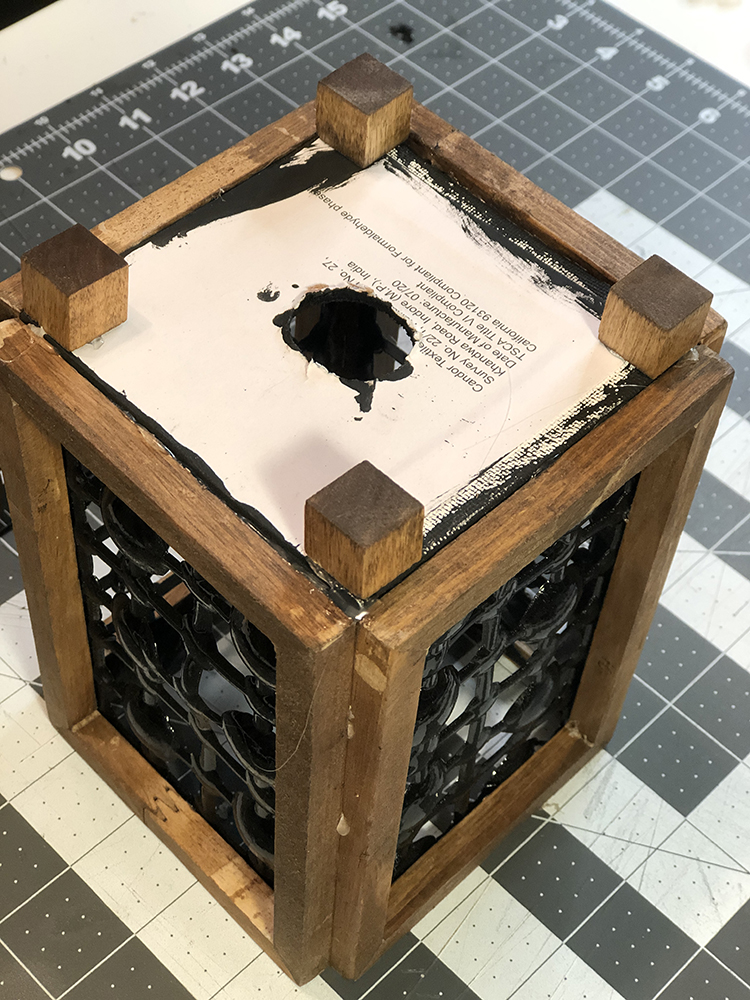
I remembered I saved a clip-on light fixture from an old Halloween lantern decoration that broke. It’s the perfect size for making this into a nightlight/ lamp / lantern. It just takes a nightlight light bulb. If you don’t collect junk like I do, you can get something similar like this Single Light Clip on Amazon.
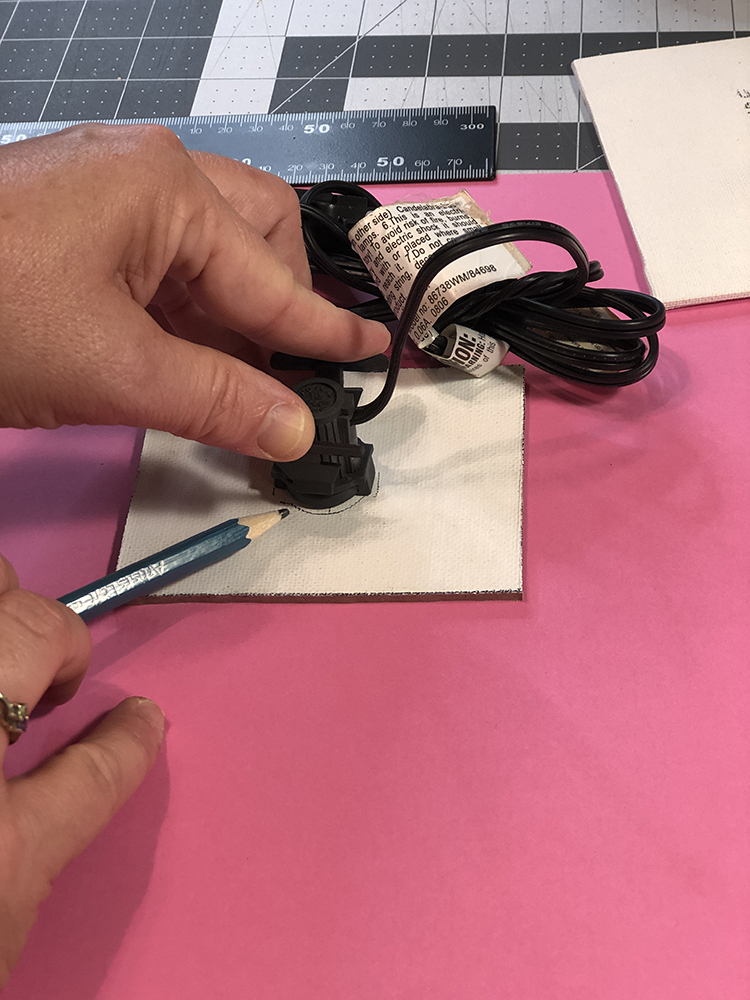
I traced the light in the center of the base and cut it out using a utility blade, hammer and chisel. The light will just clip into this hole when we’re done.
Step 6:
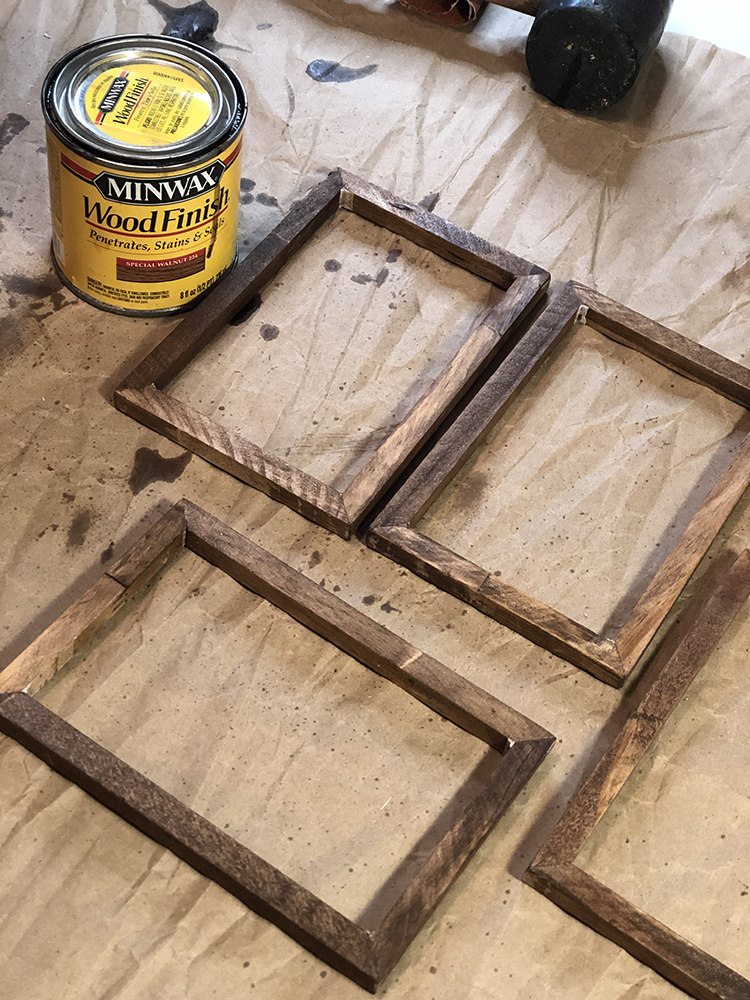
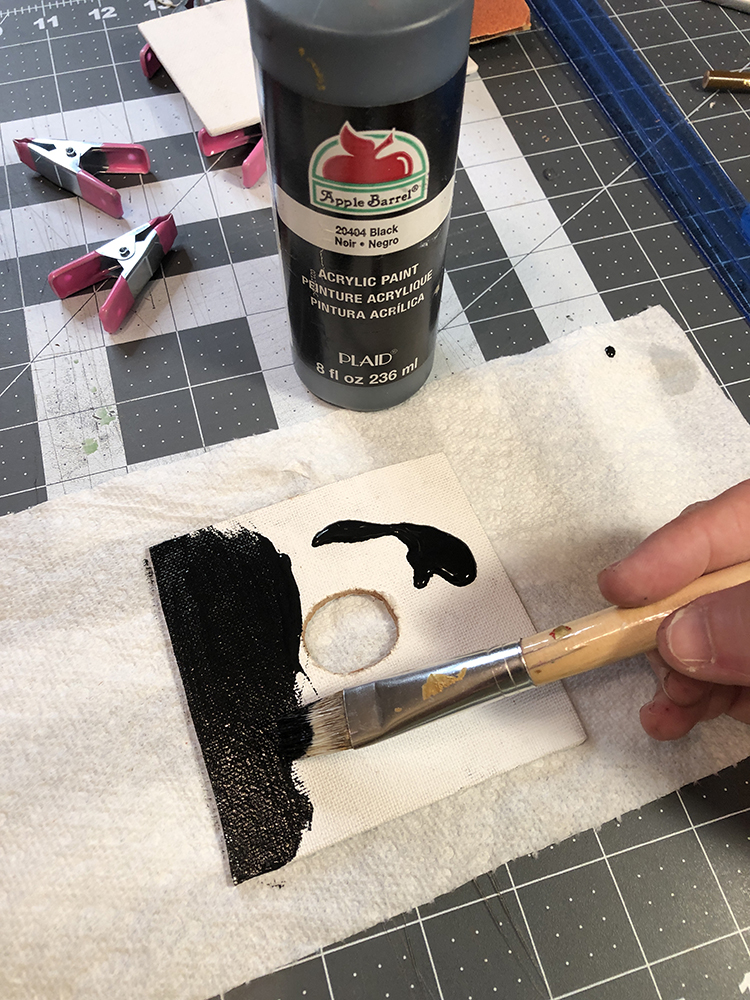
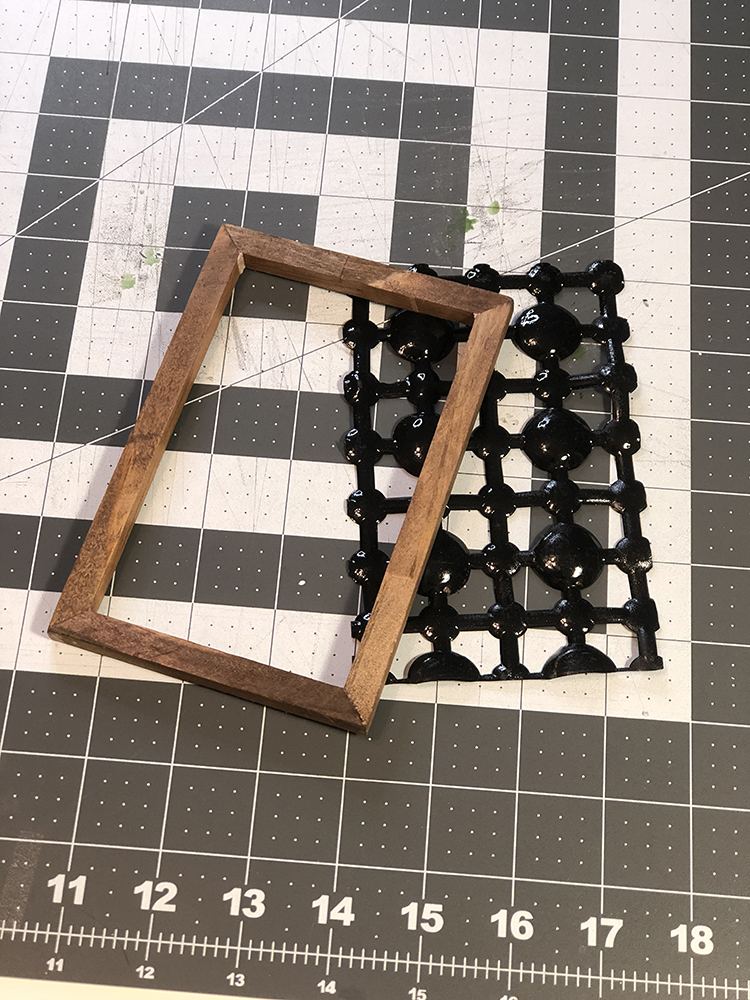
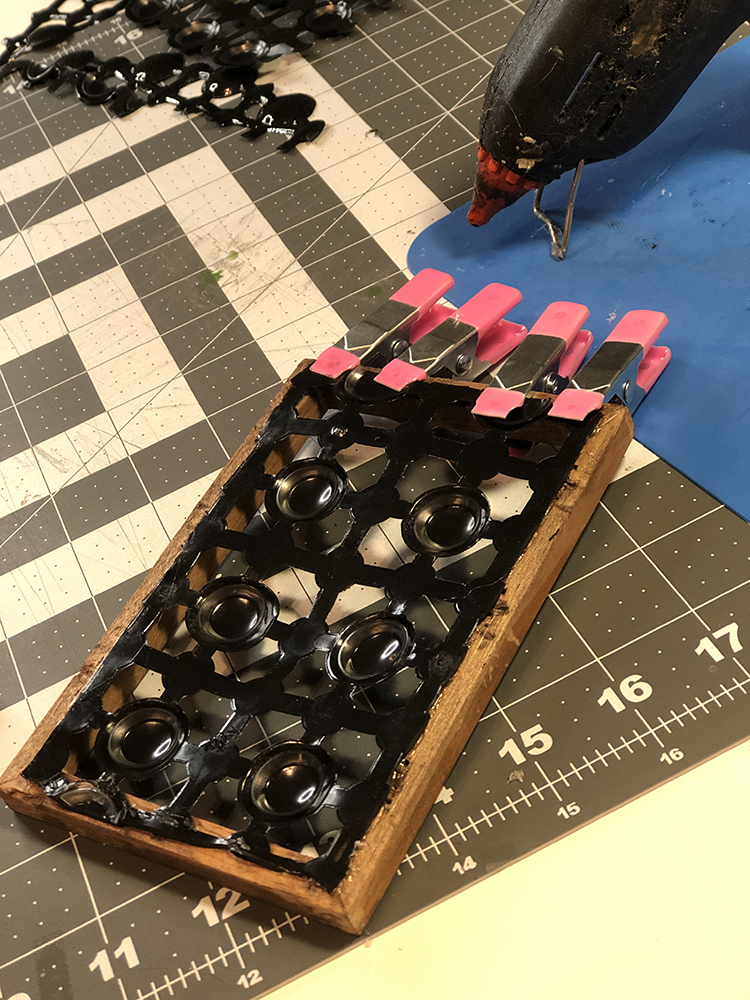
Next, I painted the canvas cardboard base black and let it dry. Once the bathmat was dry, I traced one of the wood canvas frames and cut the mat to fit on the backside of the frames. I did all four and then hot glued them onto the back of the frames (glue on the side that had the staples).
Step 7:
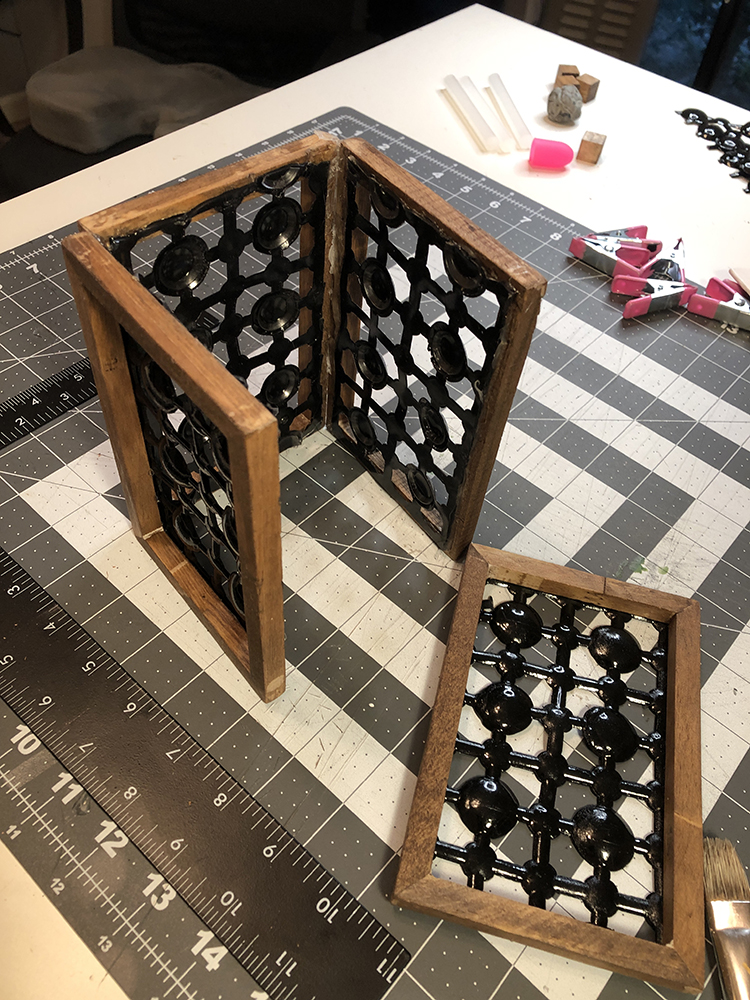
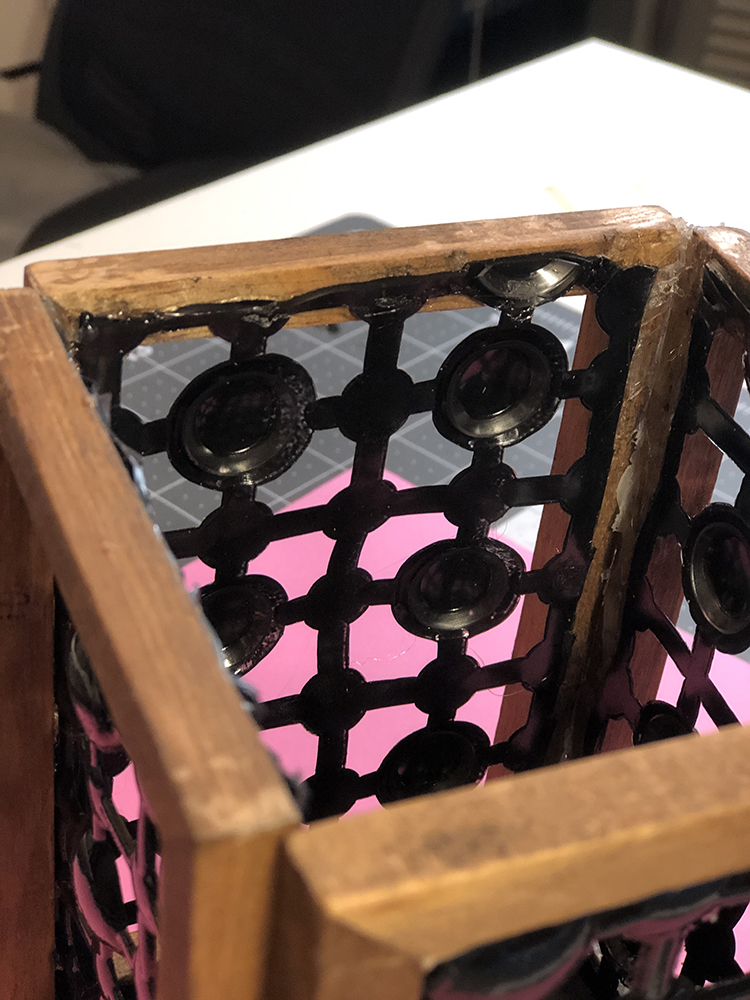
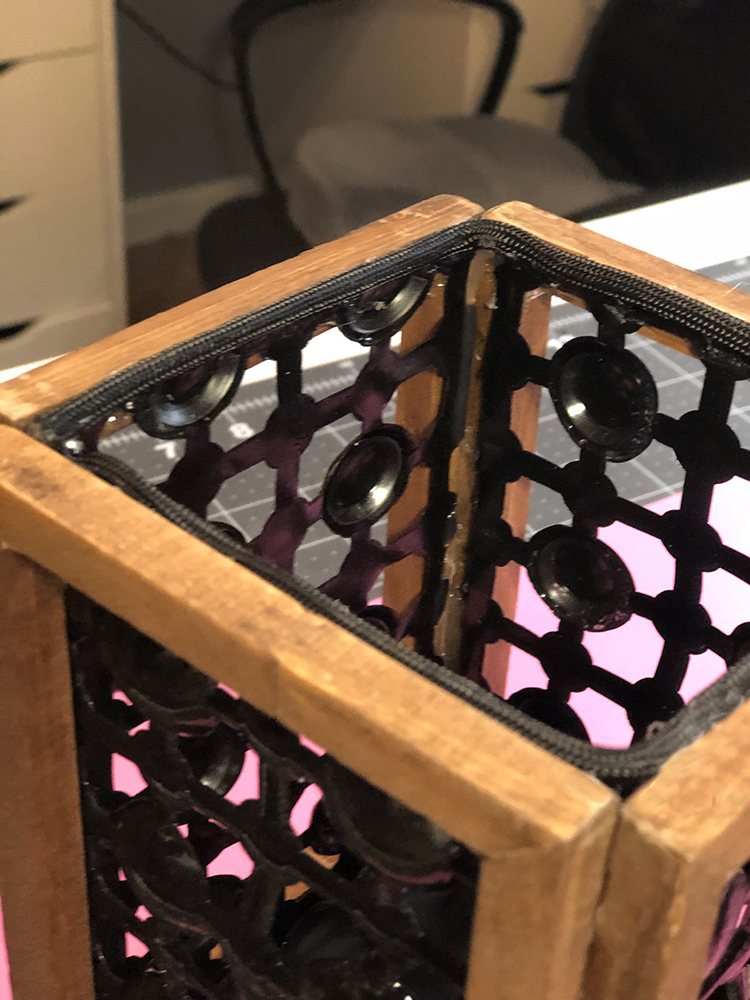
Once all the glue and paint was dry, I then assembled everything together. I hot glued all the frames together, making the corners meet. I just ran a bead of hot glue along the inside to hold the sides together. I then turned the four-sided frame over and glued the cardboard base to the bottom, sitting flush to the bottom as much as possible. Finally, I glued the four wooden square cubes to the corners to be the feet of the vase/lantern.
Step 8:
When I turned it back upright, I noticed the top of the bathmat was a little rough looking, so I took some black paracord I had on hand and hot glued it around the top to hide the rough edges of the bathmat.
And we’re done! Just pop a plant in and it looks so cute. Since the container the plant was in was black, I may go back and add some white paper behind the bathmat pattern to make the pattern stand out a bit more.
I tried it out as a lamp and added the clip light in and it was so cute! This makes a perfect DIY nightlight aesthetic and makes really cool shadows and light patterns on the wall.
I really love all the creative wood projects I’m seeing on Pinterest. If you love them too, check out my other wood project: Dollar Tree DIY 2-Tier Wood Bathroom Caddy.
Now You Try It!
Don’t forget to tag me on social media so I can see your creations! Love y’all!
Share this:
FTC Disclaimer: All opinions are genuinely my own. This post also contains affiliate links and I earn a small commission if you make a purchase after clicking on my links. It doesn’t cost you any extra. Thank you for your continued support.