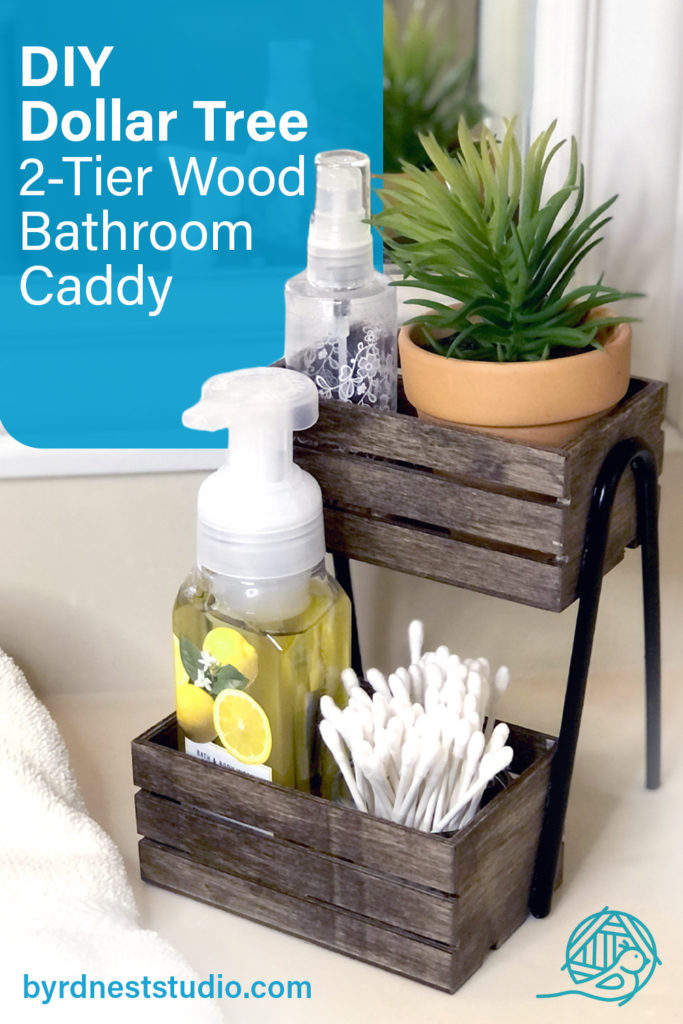
This idea was inspired by a video by @HesSoCrafty on TikTok. This is so super easy, cheap, clever and cute idea to organize the small things on your countertops. You can use this in your bathroom, kitchen or even your office desk for organizing.
Farmhouse/Industrial look
The farmhouse and industrial decor look is still going strong and this definitely gives those vibes incorporating wood and “metal”. Even though I’m using a black plastic hanger, you can’t really tell it’s not metal (cue the TikTok sound “They’ll never know”). But you could totally turn this into a boho look by painting the boxes another color with a design, wrapping the hanger in twine, or adding some macramé embellishments. Make it your own!
Something heavy like a book, marble, cast iron skillet to use as a weight.
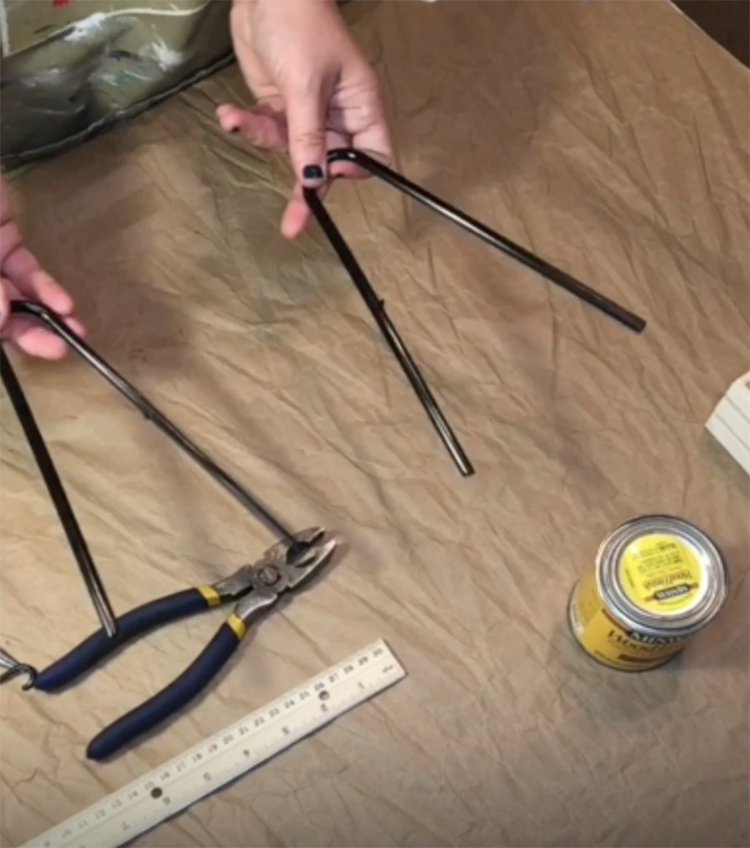
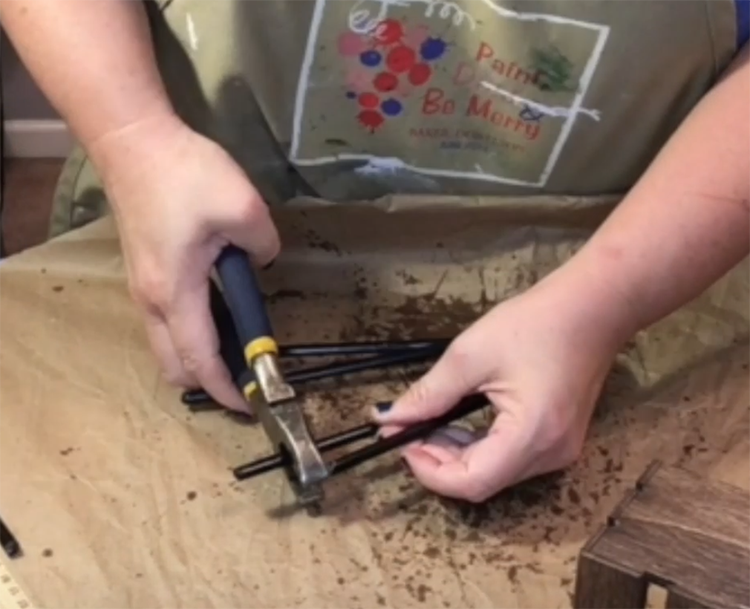
Step 1:
Cut the coat hanger into two separate triangles and use the sandpaper and lighter to melt and sand the sharp edges from using the cutter.
Step 2:
Paint or stain the wooden crates to your desired color and let dry completely. I used Minwax Wood Stain in the color Special Walnut. I would recommend using a satin or matte polyurethane as a top coat over the stain to protect it from water or other damage. I would use something like the Minwax Fast-Drying Polyurethane in the Satin Finish. You won’t need much stain or polyurethane, so just get the 1/2 pint.
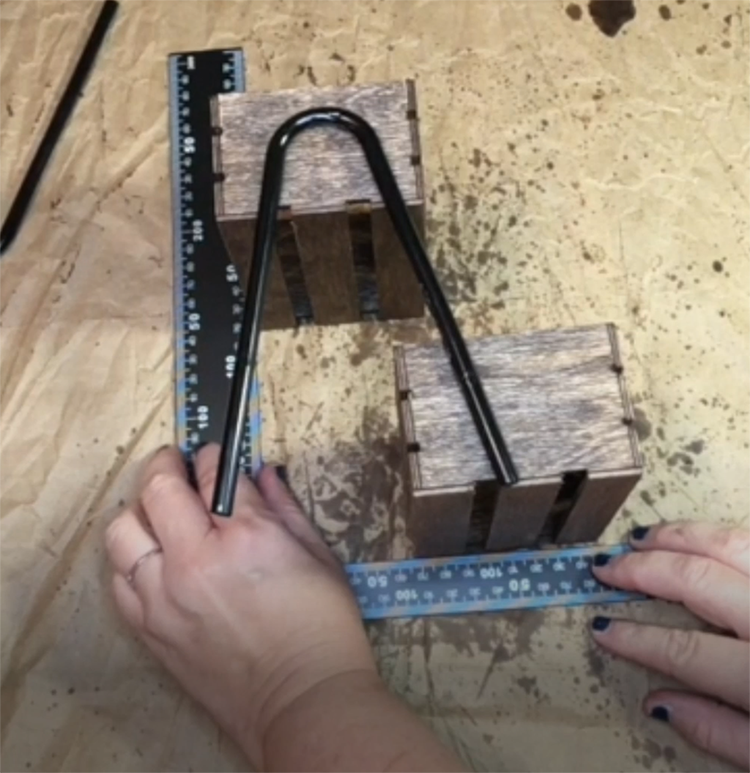
Step 3:
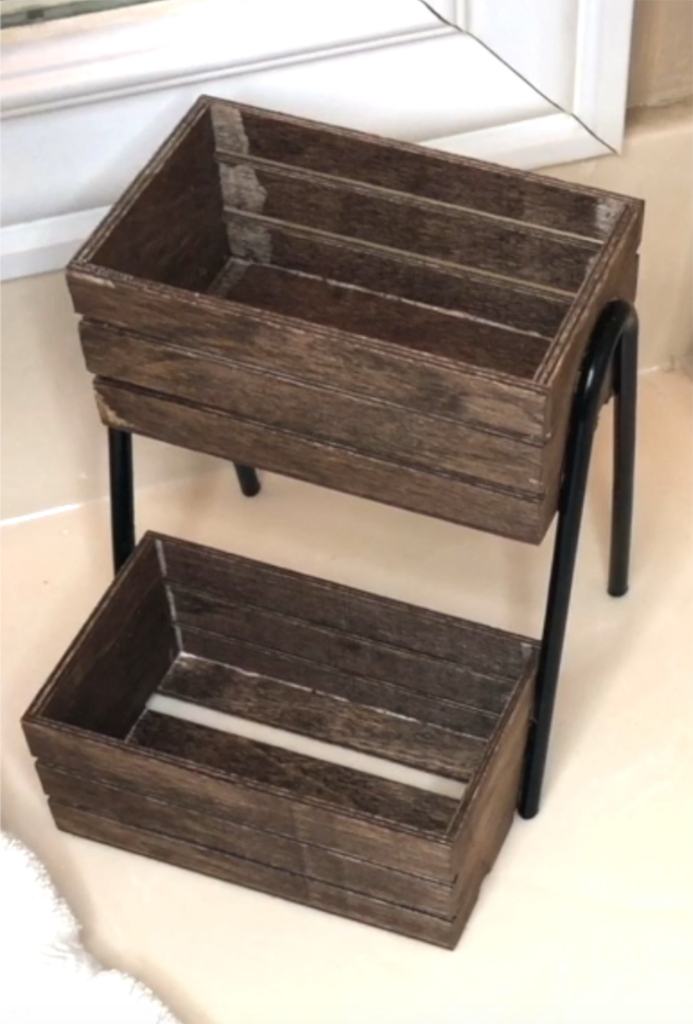
Dry fit the two crates and hanger triangle pieces together to see exactly where you will glue them and how much the hanger pieces need to be trimmed to make them the same size. Then, put the two plastic hanger triangle pieces together and cut them to the same length.
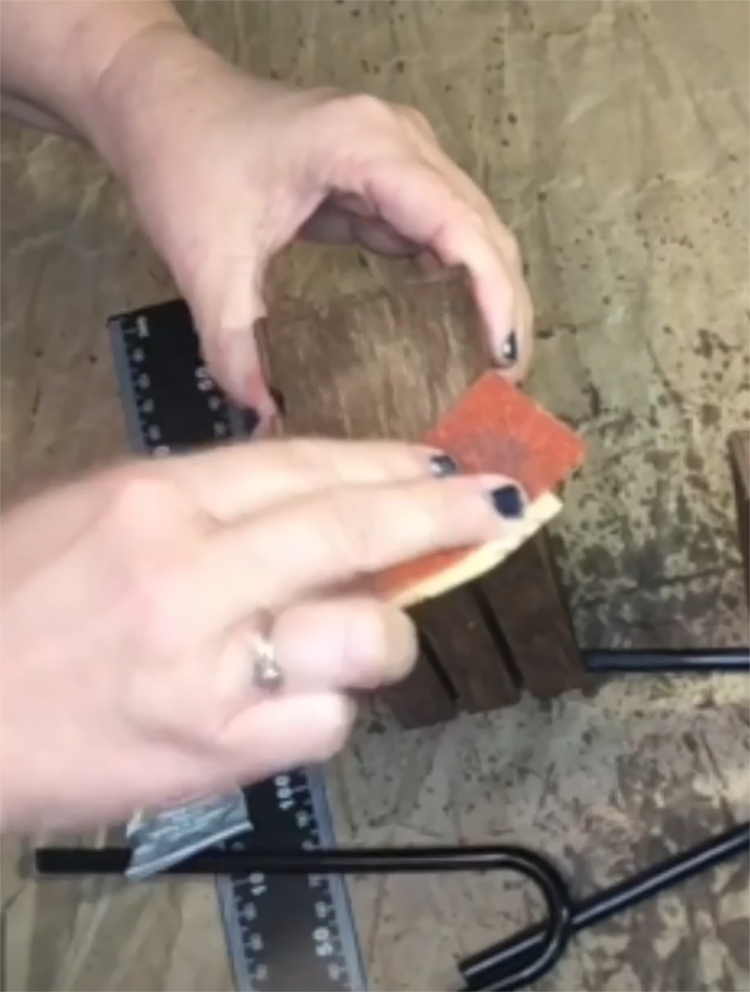
Step 4:
Now sand the hangers and the ends of the crates a bit. This will help the E6000 glue adhere better. Place the boxes on their sides and glue the plastic hanger pieces together. You can use a right angle ruler to help things stay in line while you place the hanger pieces to the crates. I did one side, let it dry for about 6 hours, then I did the other side. PATIENCE is key here!
Finally, use a heavy weight, like a piece of marble/granite, or a cast iron skillet, or a book to help press the hanger to the boxes and allow them to fully dry overnight. BE PATIENT! You want that glue to fully cure so this caddy can firmly support and hold your stuff.
The key to make the hanger stick to the boxes with the E6000 is SANDING. You really cannot skip this step because the stain and the plastic are a slippery surface and really need to be scuffed up for maximum adhesion.
Step 5:
DECORATE!!!! Tag me on Facebook or Instagram and let me see your version and take on this! Where are you going to use this? Can’t wait to see your creativity!
WATCH THE VIDEO:
For my fellow visual learners, here’s a video of the whole process. Be kind, I’m not great at this video stuff just yet! LOL
Now You Try It!
Don’t forget to tag me on social media so I can see your creations! Love y’all!
Share this:
FTC Disclaimer: All opinions are genuinely my own. This post also contains affiliate links and I earn a small commission if you make a purchase after clicking on my links. It doesn’t cost you any extra. Thank you for your continued support.